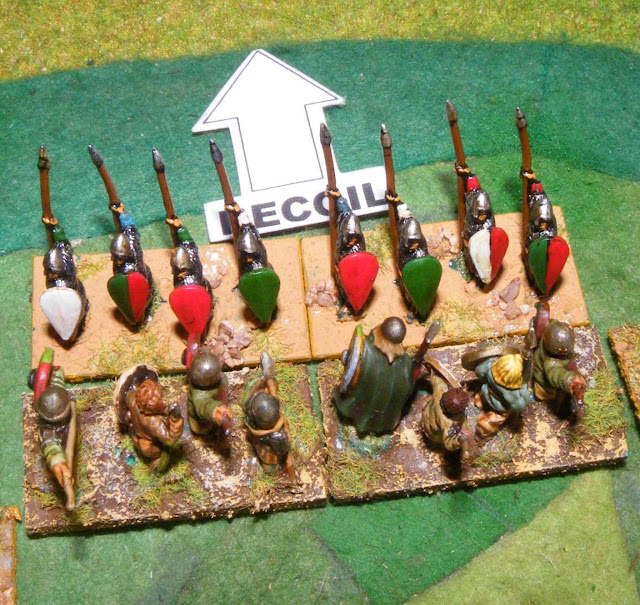
Right then, it's off to the Battle of Hastings, keeping the theme of '1066 the Battle for Middle Earth'.... Our intrepid heroes have just thrashed the mighty Vikingr. No sooner have they settled down for a cup of nettle tea, then news reaches them that 'The Orcs' have landed, the Normans have hit the shores of Middle-Earth.
To run this game we used the 'Battle of Hastings' scenario from the book on the left, Historical Medieval Battles by Peter Sides. It's basically full of famous battles set to DBA/DBM Army sizes. Well worth it, if you can get hold of a copy. In this scenario the Norman's have 26 elements to the Anglo-Saxon's 21. We set victory for the first 8 kills. Extra rules for the battle..... First, the Anglo-Saxon's would have to hold the hill in a Shieldwall & could not advance 'en masse'. Second, ...however if a combat resulted in an enemy recoil or any Norman element in contact retreated, then the Anglo-Saxon element would follow up (like a Knight). This would give a little realism to Anglo-Saxon's actions on the day.
Well Jack & Amy's 'bloodlust' was up & they opted for command of the Norman's, while yours truly would be 'pinned' to Senlac Hill........... Bring it On!!!
______________________________________
The Battle of Hastings set-up
The Norman's arrayed in three Battle groups...
______________________________________
The Norman's Attack!
The Norman's Attack!

______________________________________
The Breton's advance, the Breton Cavalry is ready to help out.

______________________________________
HA HA HA!!! Take the pain Jack!

______________________________________
On the left it's pretty much stalemate.
while on the right it could be a bit tricky as the Anglo-Saxon
Shieldwall is getting dragged down the hill.
It's not good for the Anglo-Saxon's, as they get dragged down the
hill in the centre.

______________________________________
Some Huscarls are mega impetuous & push the Norman's right down the Hill.
Meanwhile the Norman Knights Charge!!!!!

______________________________________
The charge of the Huscarls!

______________________________________
The charge of the Huscarls!

______________________________________
The Breton Spears retire, dragging the Anglo-Saxons with them.

______________________________________
Overview of the battle. The Anglo-Saxon lines are shown in dotted Maroon.
However the Shiedwall is broken in too many places (broad maroon line).
The Anglo-Saxon right flank is not looking good.

______________________________________
Nooooo! The Spear & Cavalry combo's are killing the Anglo-Saxon Right.

______________________________________
YES!!! What an opportunity, the MAD Huscarls hack their way through....
.....Duke William is in sight!
Duke William holds out & the MAD Huscarls bite the dust.
Go on our Harold!!! The Dragon Banner is flying in the wind.

______________________________________
The right flank is a shambles.... From an Anglo-Saxon point of view!
Edith Swan-Neck, on a white charger, gallops to Harolds rescue.
They leg it from Senlac Hill......... To raise another Army????

______________________________________

______________________________________
The horror's are whooping loudly, The Normans win our version of Hastings, just like history. However it was very close indeed. We felt the extra rules were spot on, the splintering of the Shieldwall worked well. It allowed the Breton Cavalry to make a big impression.
SO, does it end here? Who knows perhaps a Anglo-Saxon/Welsh/Scots Army may take on William the Conqueror next???


